
Metallographic Sample Preparation and Hardness Testing

Metallographic sample preparation and hardness testing are foundational pillars of material characterization, bridging the gap between raw manufacturing processes and the precise mechanical data required to ensure structural integrity. By combining surface refinement with rigorous hardness evaluation, engineers and quality control professionals can move beyond assumptions to verify that a material’s internal architecture is optimized for its intended service environment. This approach is essential for valid quality control, accurate failure analysis, and material validation across high-precision industries.
Why is Metallographic Sample Prep and Testing Important?
Preparation matters because analysis can only be as accurate as the surface it’s performed on. Sectioning, mounting, grinding, and polishing serve to remove surface damage and contaminants, exposing grain boundaries, phases, and defects exactly as they exist in the material.
Rushing these stages creates artifacts—such as scratches, smeared metal, or heat-affected layers–that can be easily misinterpreted as real microstructural features. A clean, well-prepared surface ensures consistent, reproducible results and allows chemical etchants to reveal the true microstructure without interference.
Hardness testing acts as a critical, objective validator of material performance. By measuring a material’s resistance to permanent deformation, these tests provide quantitative data that correlates directly to strength, wear resistance, and long-term service life. A high hardness reading confirms that a heat treatment process was successful, while a low reading often flags processing defects or substandard material quality before a component is put into service.
Ultimately, these processes reinforce one another: hardness testing is only as reliable as the surface it runs on. Rough, uneven, or work-hardened surfaces produce skewed indentations and inaccurate data. By establishing a rigorous standard for surface preparation, laboratories ensure that hardness testing provides meaningful, actionable data, creating a closed loop of quality assurance that validates both the material’s internal structural integrity and its external mechanical reliability.
What is a Typical Sample Preparation Process?
The following outlines a common process for preparing material specimens for accurate microscopic analysis and hardness testing.
- Sectioning
Isolating a representative sample while preventing thermal or mechanical damage - Mounting
Encapsulating the specimen to ensure handling stability and to protect edge geometry - Grinding
Removing the damaged layer from sectioning to establish a flat, uniform surface - Polishing
Achieving a mirror-like finish, free of artifacts, to reveal the true microstructure - Analysis
Performing high-precision microscopy and hardness testing on a defect-free surface
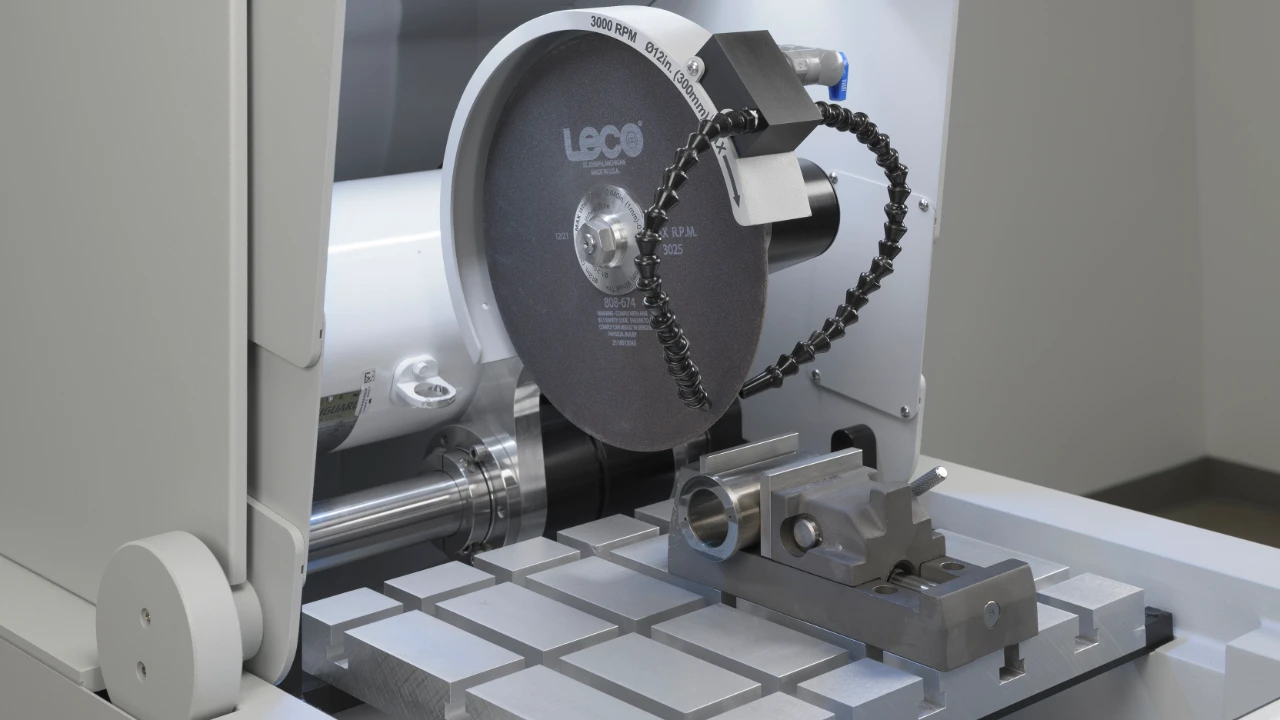
Sectioning: Isolating the Representative Sample
Precision sectioning is the critical first step in material characterization. The objective is to extract a specimen that accurately represents the bulk material without introducing secondary changes. Because high-energy cutting can induce heat, mechanical deformation, or micro-cracking, the method must be carefully selected based on material hardness and geometry. A clean, controlled cut preserves the specimen’s internal structure, ensuring that subsequent grinding steps only need to remove the unavoidable, minimal surface disturbance rather than compensating for excessive damage.
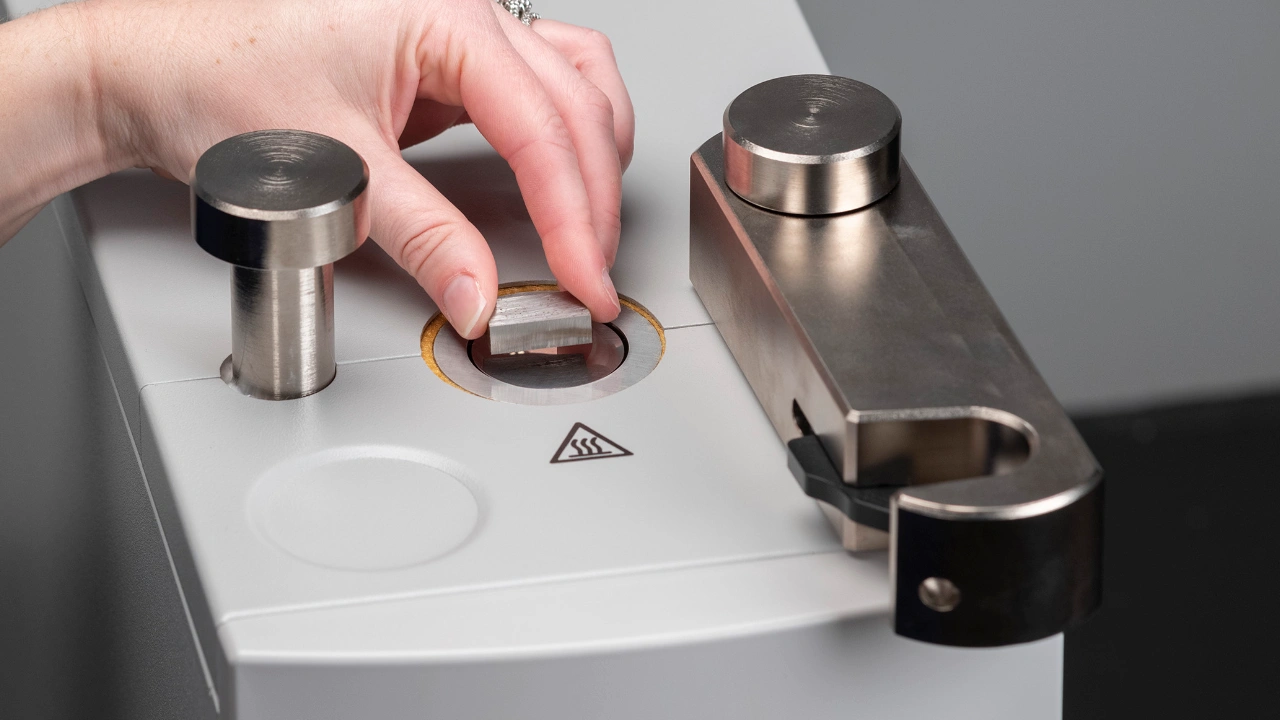
Mounting: Ensuring Stability and Edge Retention
Mounting encapsulates the specimen in a resin, transforming irregular or fragile samples into a standardized, manageable form. This process serves two functional purposes: it provides the necessary stability for automated preparation and protects delicate surface edges from rounding during grinding and polishing. Whether utilizing hot compression mounting for throughput or cold mounting for heat-sensitive materials, a high-quality mount ensures that the specimen remains flat and secure, enabling analysis right up to the critical sample boundary.

Grinding: Establishing a Uniform Surface
Grinding is the essential damage-removal phase. By moving through a progressive sequence of abrasive grits—from coarse to fine—this stage systematically eliminates the deformation layer left by sectioning. The goal is to achieve true planarity across the entire sample surface. Effective grinding is the prerequisite for a successful finish; if the initial damage is not completely removed in this stage, it will persist as an artifact, rendering final polishing and analysis unreliable.

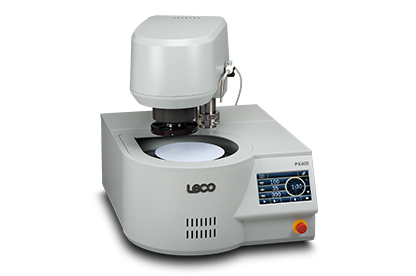
Polishing: Revealing the True Microstructure
Polishing transforms a ground surface into an optically clear, featureless plane. This final stage removes the microscopic scratches and subsurface deformation that remain after fine grinding. A properly polished surface is essential for two reasons: it prevents surface artifacts from being misidentified as microstructural defects, and it provides a smooth, consistent plane for hardness indentations. The resulting mirror-finish allows for clear, accurate interpretation of grain boundaries, phase contrast, and mechanical properties.
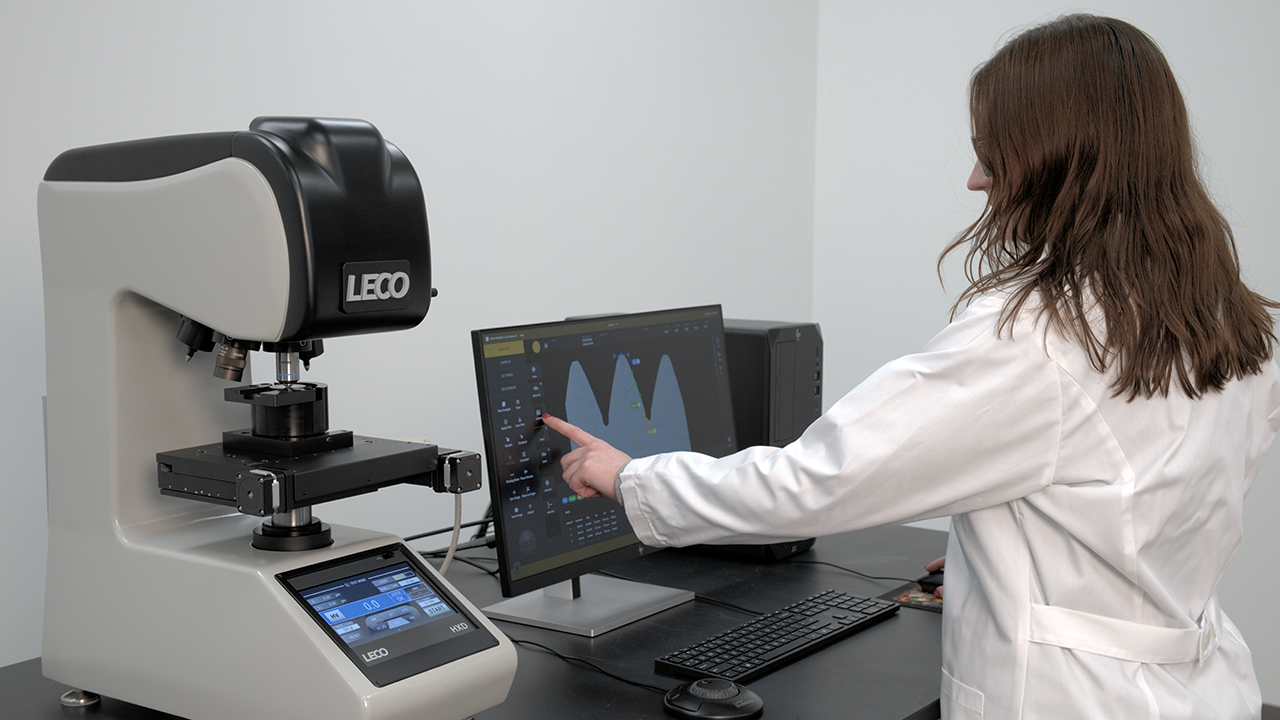
Analysis: Validating Mechanical and Structural Properties
Analysis is the culmination of the preparation process, where the specimen is subjected to rigorous evaluation. For microscopy, chemical etching is typically applied to selectively reveal the material’s grain structure and phase distribution. For hardness testing, precise, geometrically accurate indentations are made directly on the surface. Because both techniques rely entirely on the quality of the preceding steps, a pristine surface ensures that the resulting data reflects the material’s true performance, rather than the quality of the preparation itself.
Metallographic Preparation and Analysis Instruments
Proper sample preparation and accurate hardness testing depend on having the right instruments for the job. Explore LECO instruments designed to support every stage of the metallographic process, from sectioning and mounting through polishing and final analysis.

Sectioning Machines

Mounting Systems
Grinding & Polishing

Hardness Testing
